Tool storage systems certainly have become popular. Various brands have added features and accessories for almost every need or want. Some have added drawer modules to their lineup which adds a lot of flexibility and usefulness. Unfortunately, the brand I settled on years ago has not added a drawer to their lineup. At the time of this writing, Ridgid has not provided a drawer option but, they do make a good foundation for a DIY project to create your own.
Which Box And Why
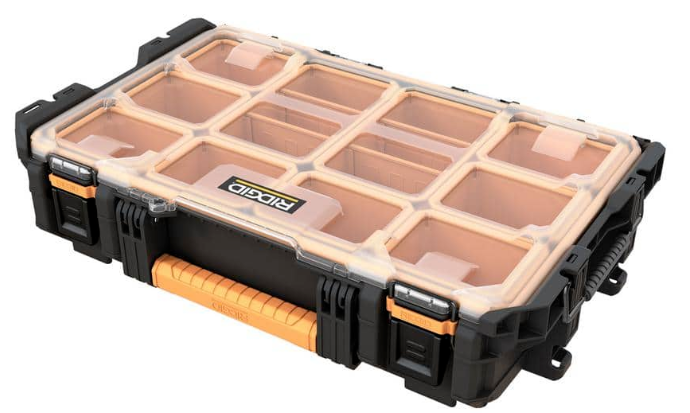
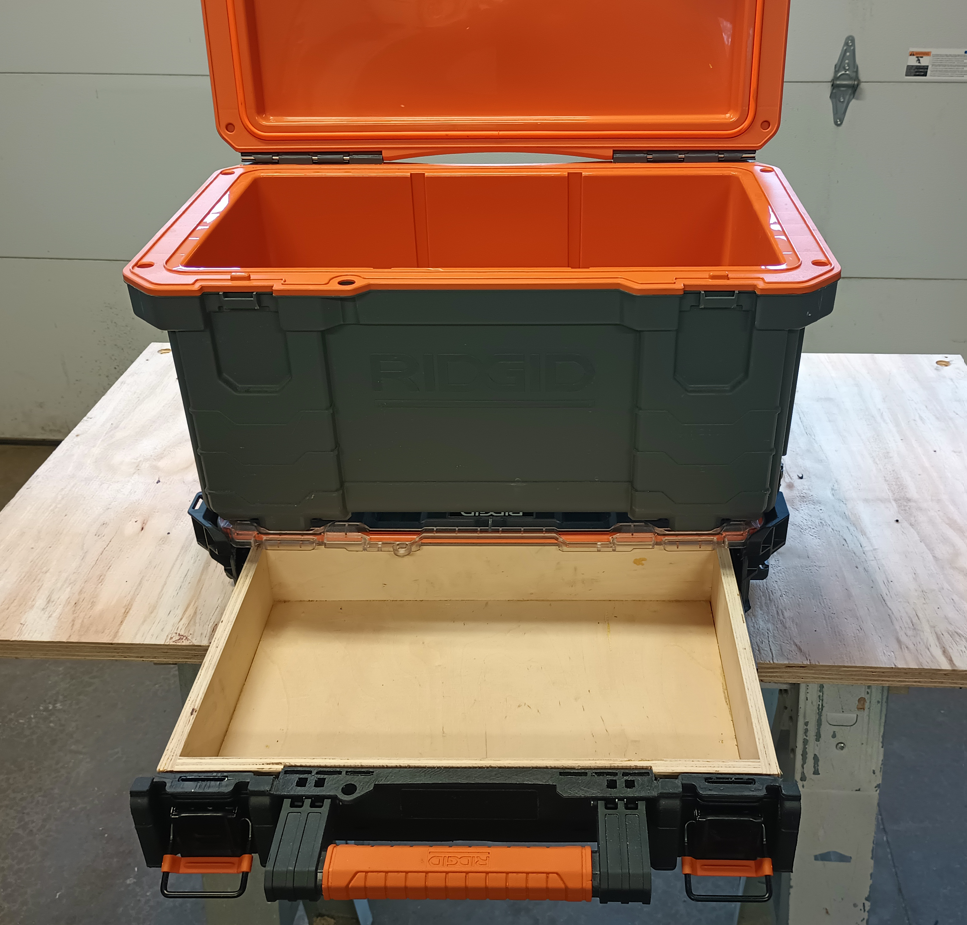
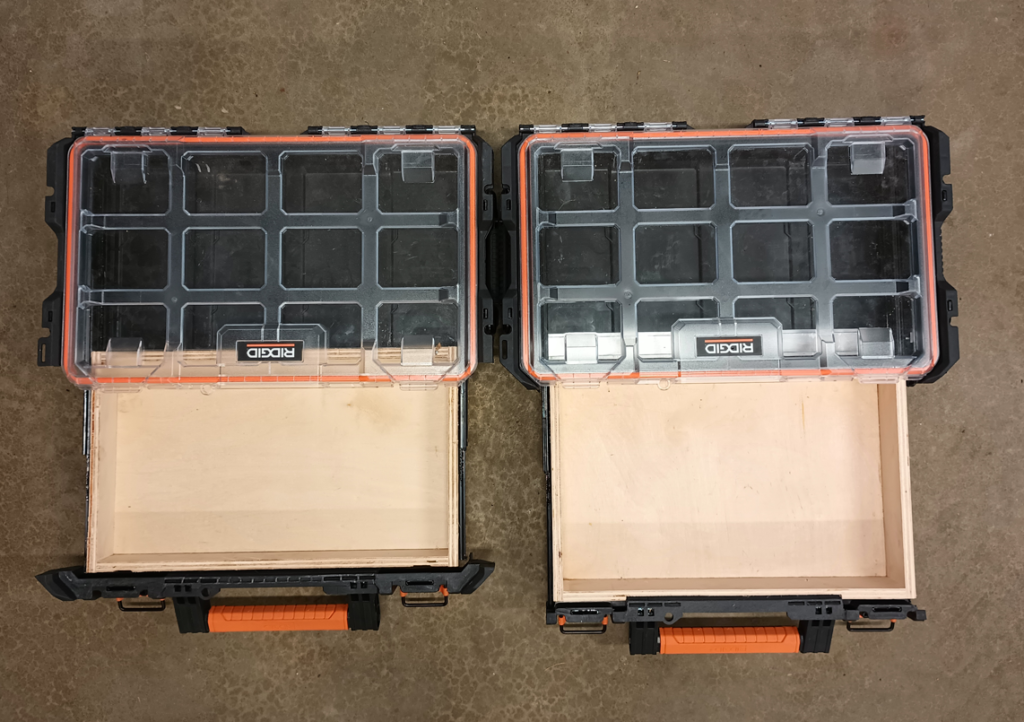
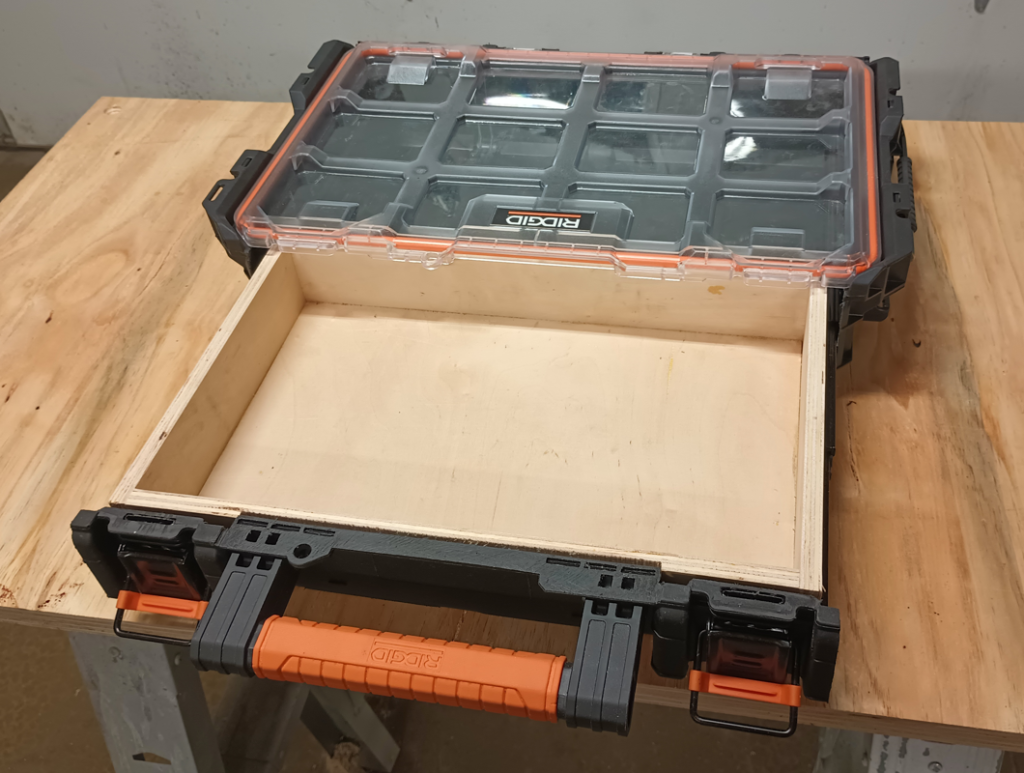
The Ridgid Pro System Gear 10-Compartment Small Parts Organizer is a great candidate for a DIY project making a single drawer module which is still compatible with the rest of the lineup. If you’re willing to cut into one of these, then with a pair of drawer slides and simple drawer build you can have the drawer module many of us wish Ridgid would provide.

The Pro Gear System Power Tool Case is another option. The interior sides have a different contour so the drawer slide mounting will be different. Also, the lid is thicker which is not useful space for a drawer. However, the actual drawer could be a little taller if this box is used. It’s a trade-off between a little deeper drawer and a taller box vs. not quite as deep drawer and a shorter box height.
What About Other Brands
I don’t own any of the other brands, but I have looked at many of them in stores. Most look like they could be modified into a drawer although some look more suited than others. Having smooth internal sides and less contours are preferred for mounting the slides whereas the more contoured sides present additional challenges and things to work around. If you want it bad enough though I’m sure it can be done no matter which brand.
Before You Cut
The first thing to do is reinforce the area of the box which will be the drawer opening. Ridgid lists the box material as a resin, which seems to be close in composition to polypropylene, or actually may be. Either way, it gets floppy when the drawer front section is cut out and the bottom section will sag without support from the box front (which becomes the new drawer face).
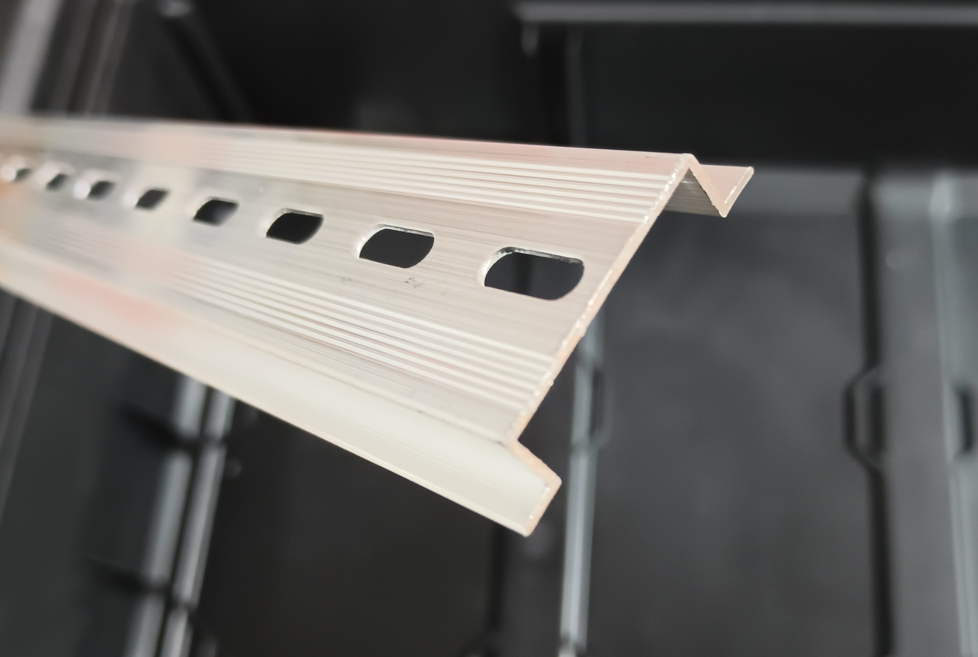
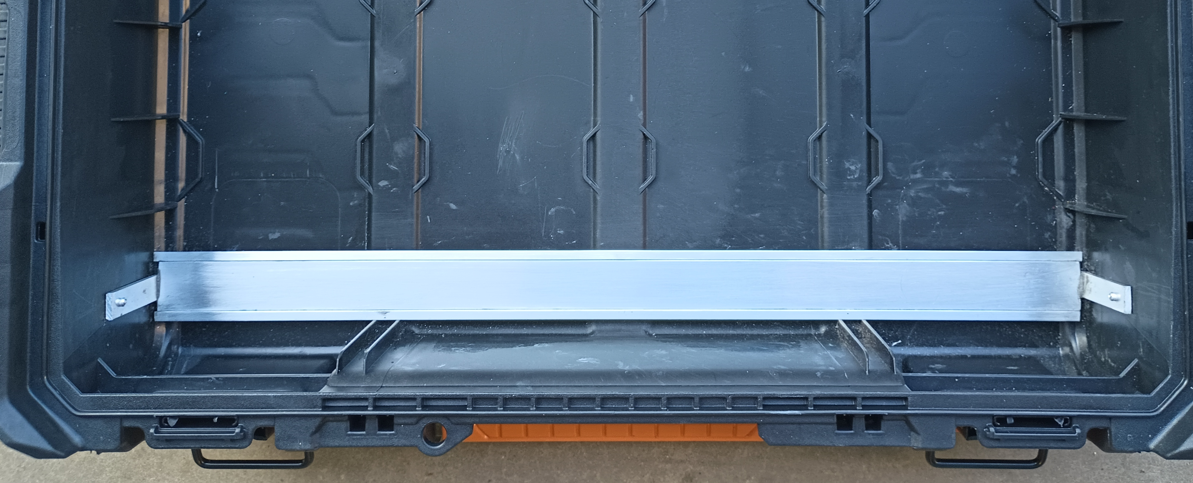
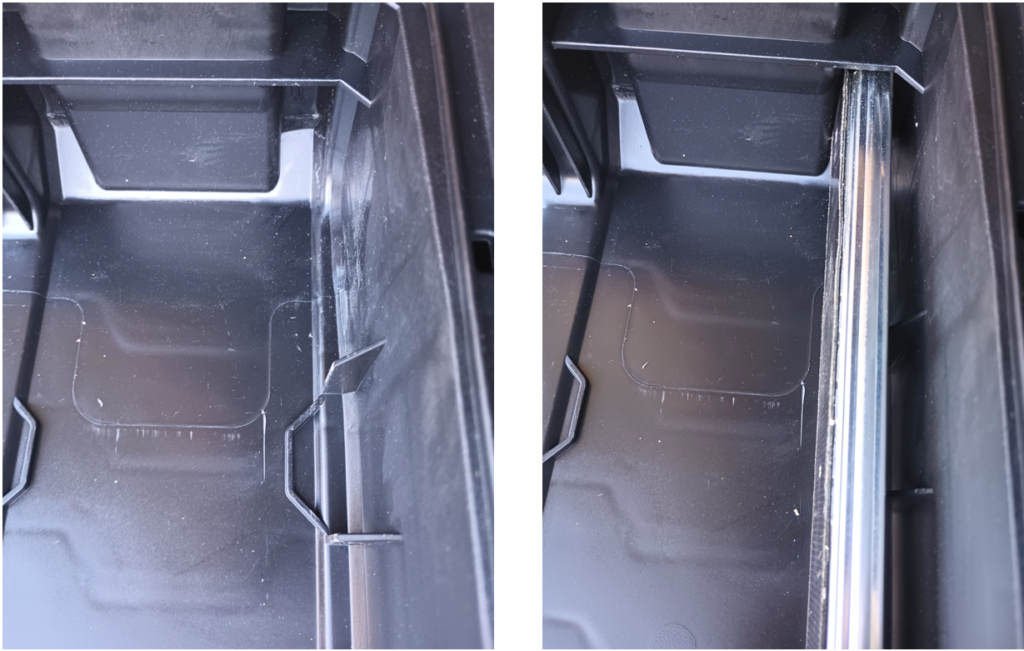
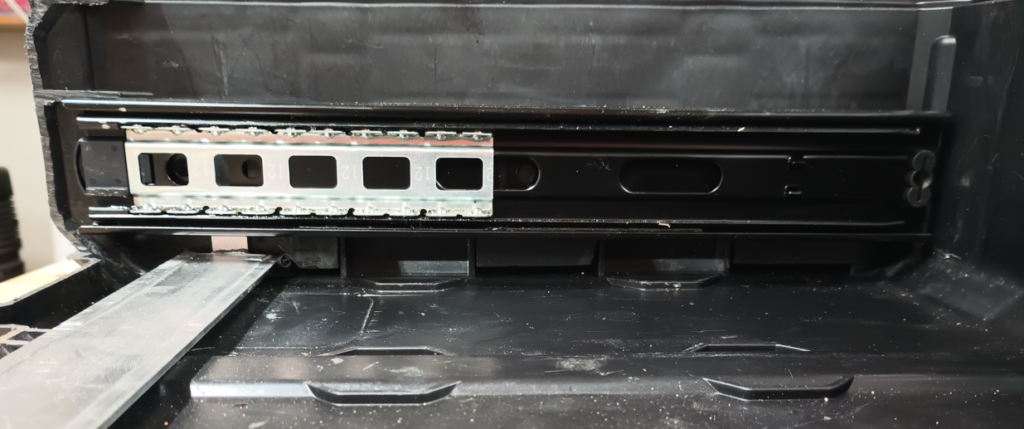
There are various ways to reinforce this area. I used a section of aluminum DIN rail to make the bottom more rigid without adding much height which the drawer bottom will need to clear. This DIN rail is typically used to attach electrical components in an enclosure but for this project it makes a nice lightweight, rigid, and low-profile structural enhancement.
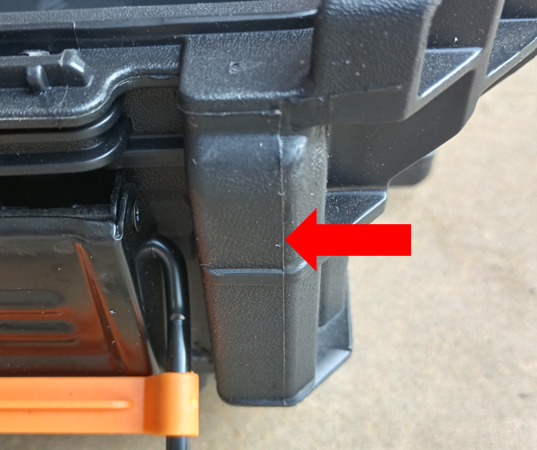
The bottom corner of the box has a profile instead of a sharp corner, so the bottom of the DIN rail needs to be modified to allow for this.
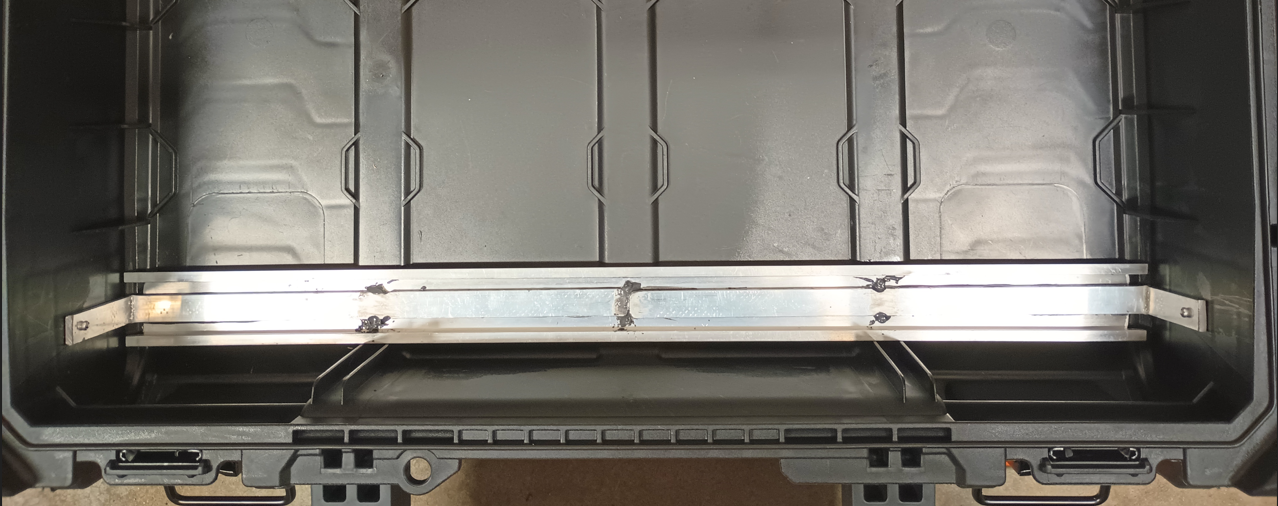
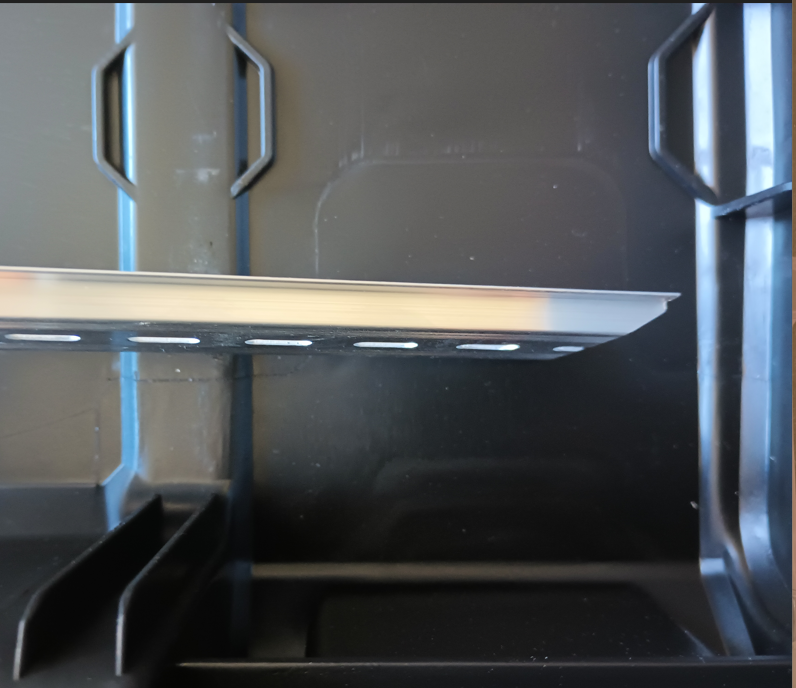
I attached the aluminum DIN rail using rivets along the bottom and then added a 1/2″ x 1/16″ aluminum bar bent at 90° up to reinforce the sides.
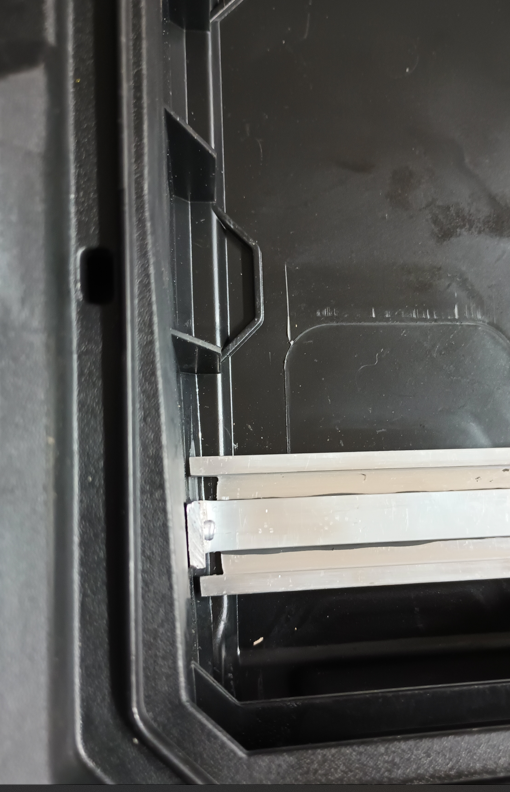
At this area of the box the sides angle into the center of the box at about a 3° angle. It’s a little tricky to get the compound angle of 90° up and 3° inward and still maintain the proper length to span the box properly. Mine was about 1/16″ too long so I cut it in half and fitted the two pieces to the DIN rail, between the rivets and used JB Weld to bond the aluminum together.
Once secured add a 1″ wide by 1/16″ thick piece of aluminum flat stock. It presses snuggly into the DIN rail center section. When epoxied to the aluminum bar it creates a very rigid sandwich of aluminum reinforcement.
In addition to the DIN rail, there are common profiles available from most hardware stores, home centers and farm stores. Most that I found are rigid but have a higher profile. The lower the profile the lower the drawer can sit which allows a deeper drawer.
Where To Cut
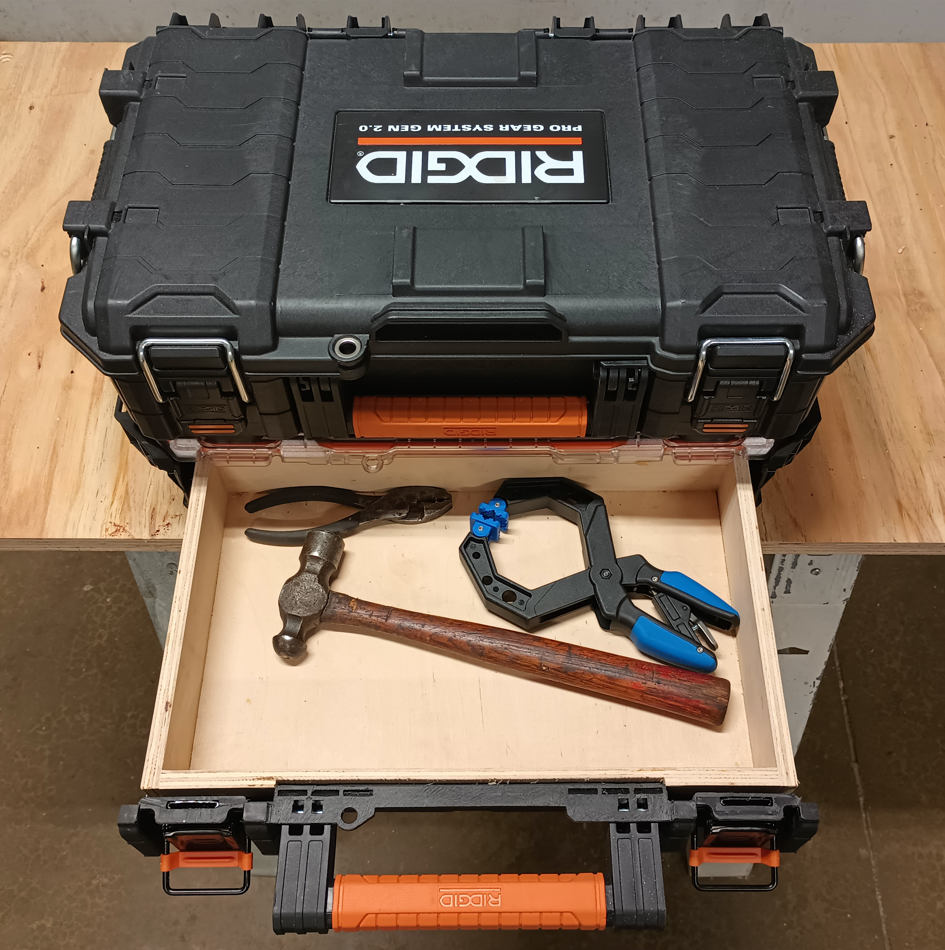
I tried two different cut locations. The less preferred one allows a wider drawer but doesn’t extend out as far since it requires 10″ drawer slides. The cut covered in this article is a slightly narrower drawer but uses 12″ drawer slides which extend completely out of the box allow better access to the contents.
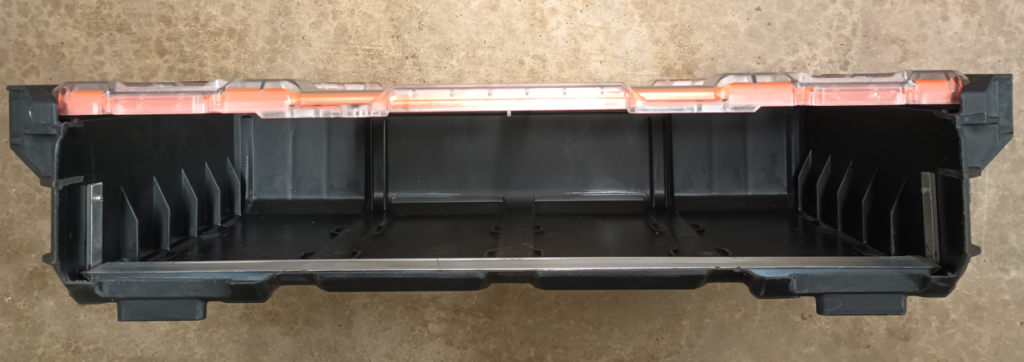
Cutting the box as shown below works well. There is some leeway for how low to cut across the front but, the lower the cut the less rigid the bottom of the box will be. However, with the reinforcement mentioned above that shouldn’t matter. Still, the bottom cut needs to stay above the feet on the bottom of the box and the sides need to accommodate the drawer slide movement.
I used a simple handsaw to make the cuts. The box material cuts easily and a handsaw is controllable without the risk of melting the material like a power tool can.
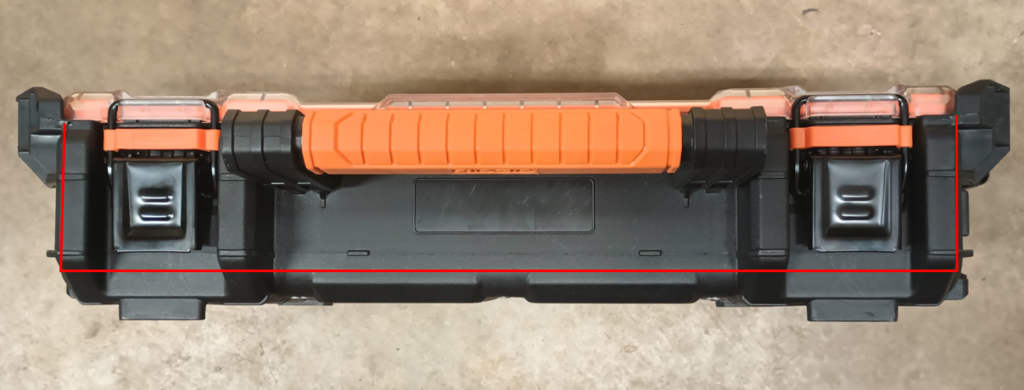
Although here is no perfect spot to make the cut along the bottom of the new drawer face, keep in mind where the feet are so they remain on the box body and not become part of the new drawer face. They still need to rest on a surface, or other box below, and not pull out with the drawer. I cut the front at a level even with the top of the aluminum reinforcement inside the box.
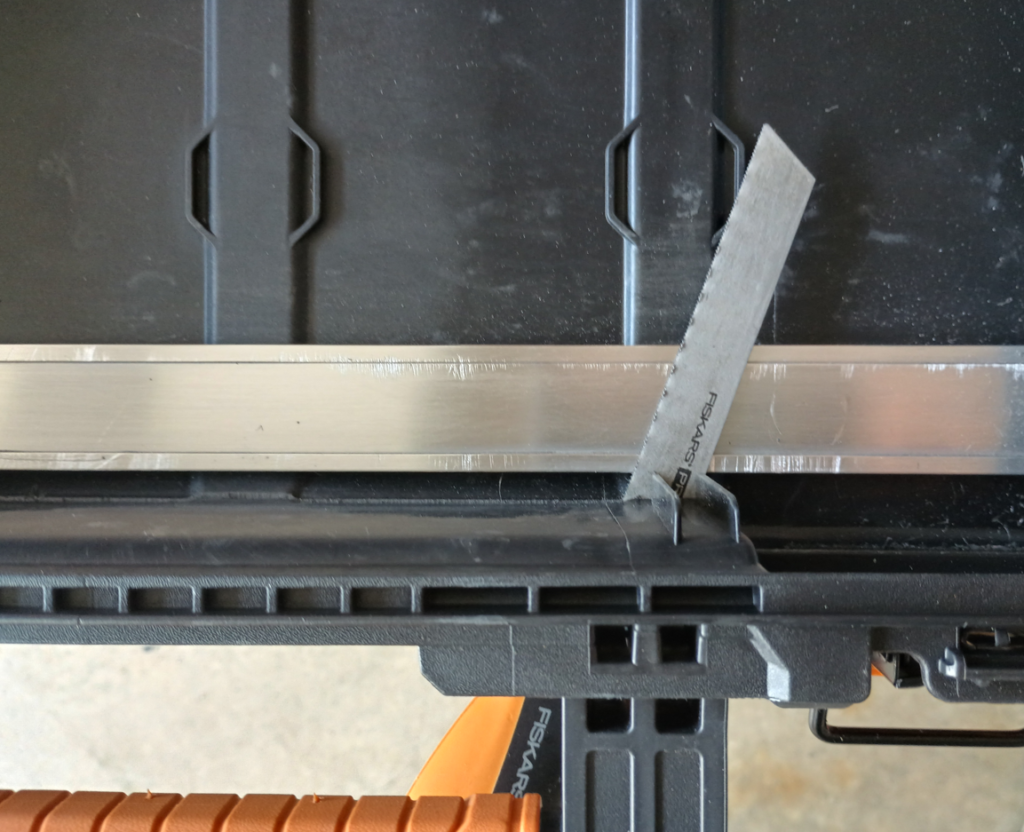
The wide DIN rail reinforcement makes for a good saw guide. A metal cutting blade in a hand saw allows for good control and prevents melting of the box material which can easily happen with a power saw.
Although it’s hidden once the drawer is installed, the saw will scratch the aluminum so protect it with tape to avoid marring it if you want to keep it unscratched. I neglected to do this.
There’s a factory molding line that makes a good guide for the vertical cut. Double check this cut location with your planned location for the drawer slides to make sure there are no interferences, and that the drawer slide will extend out of the box cleanly. I cut with the side of the saw blade along the outside edge of the line.
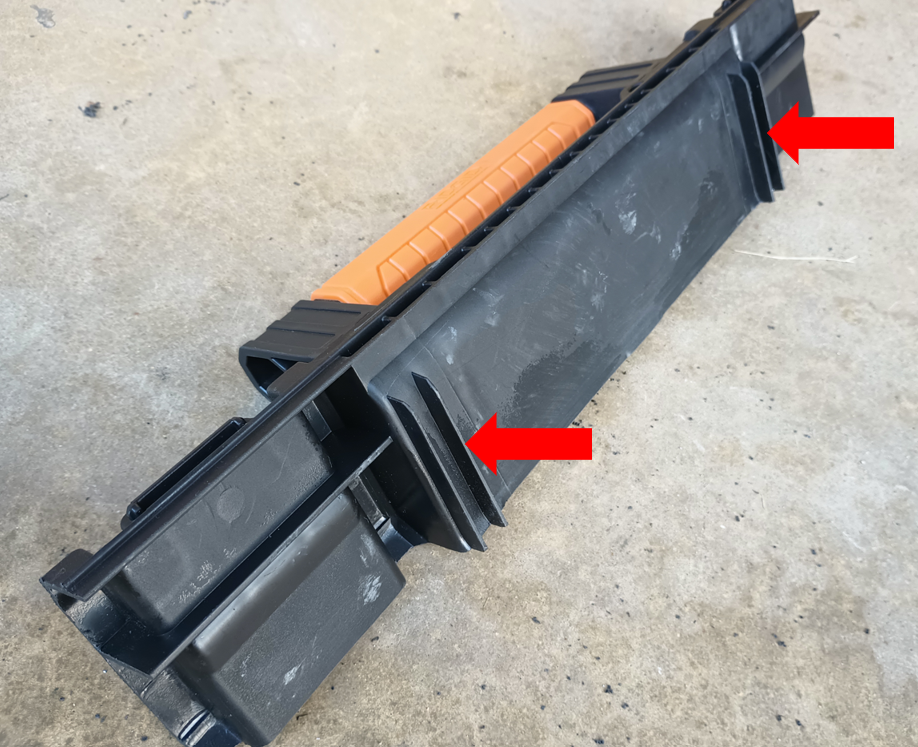
The new drawer front has 4 ribs that need to be removed. This will create a flat surface to mount to the drawer. A utility knife and sharp chisel work well for this removal.
The back of the box has similar ribs that need to be removed as well.
The Drawer Slides
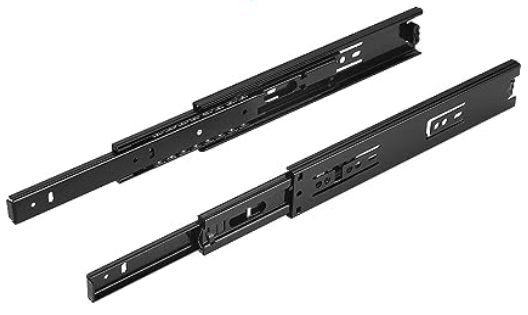
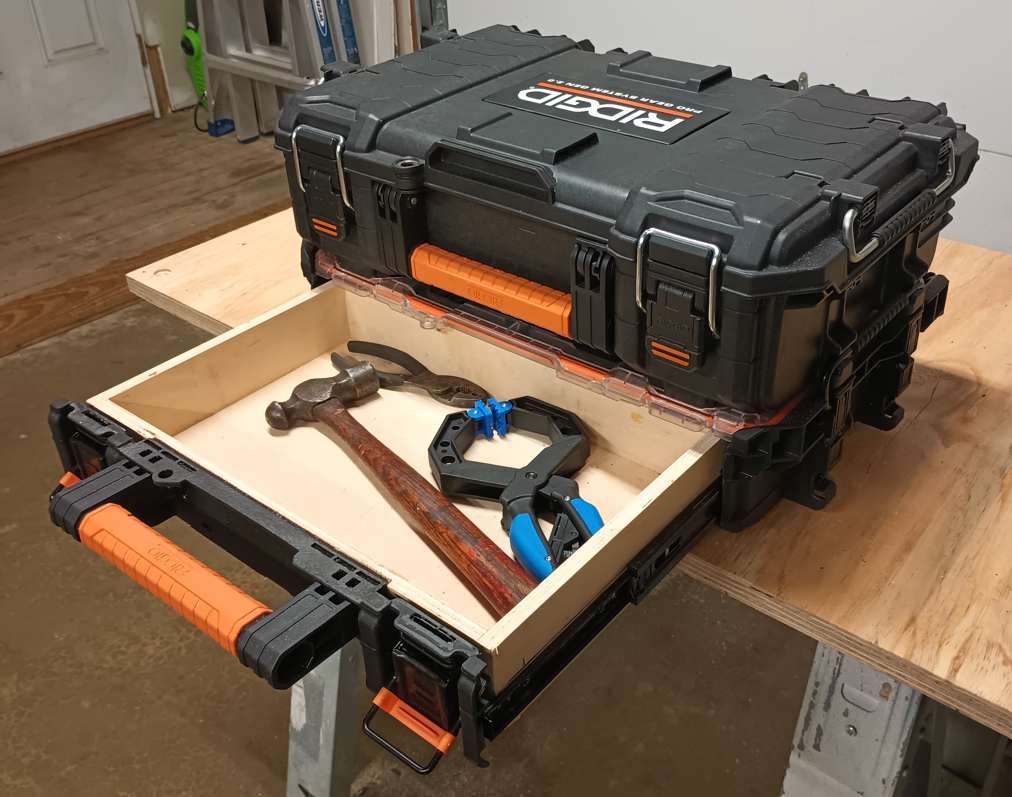
The box interior is about 11″ front to back, but a 12″ drawer slide will work by tucking the front of the slide into the section of the box which becomes the drawer front. This allows a full extension of the drawer, even past the box lid, giving easy access to the entire drawer.
I used 12″ drawer slides from Amazon and so far they’re working out fine. Also, due to the interior contour of the box sides I used a 1/2″ thick spacer cut from a larger sheet of expanded plastic to fill the space between the drawer slides and the box interior. This spacer also serves as an attachment point for the slides.
Whatever these boxes are made from, I didn’t find many glues or epoxies that will stick to them very well. The one exception is Loctite’s Plastic Bonding System, which I used for attaching the expanded plastic spacers for the drawer slides to the box. It cures fast and holds strong so take care in placing it on the box if you use this.
The Drawer
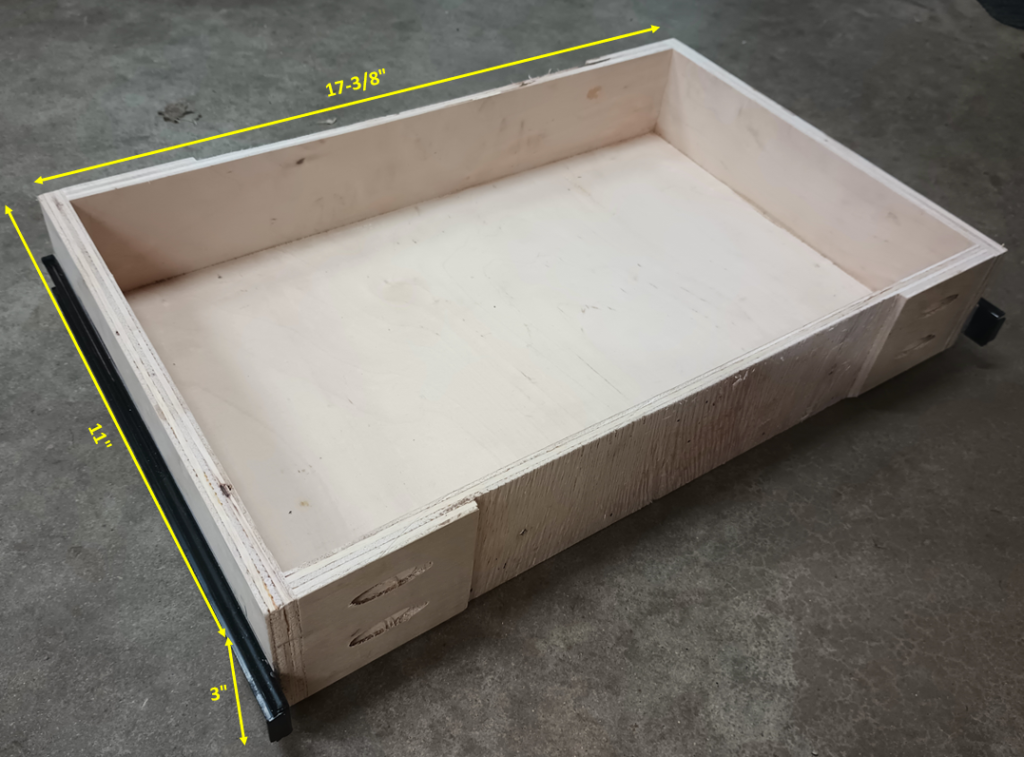
Although I’m no master woodworker (but would like to be) the 1/2″ plywood drawer is pretty easy to make. I used pocket holes and screws to make the connections. This method is quick, easy, and strong but if you want to squeeze in a little more usable volume in the drawer, a metal drawer of thinner material could be another choice if you have the skill & tools to make it.
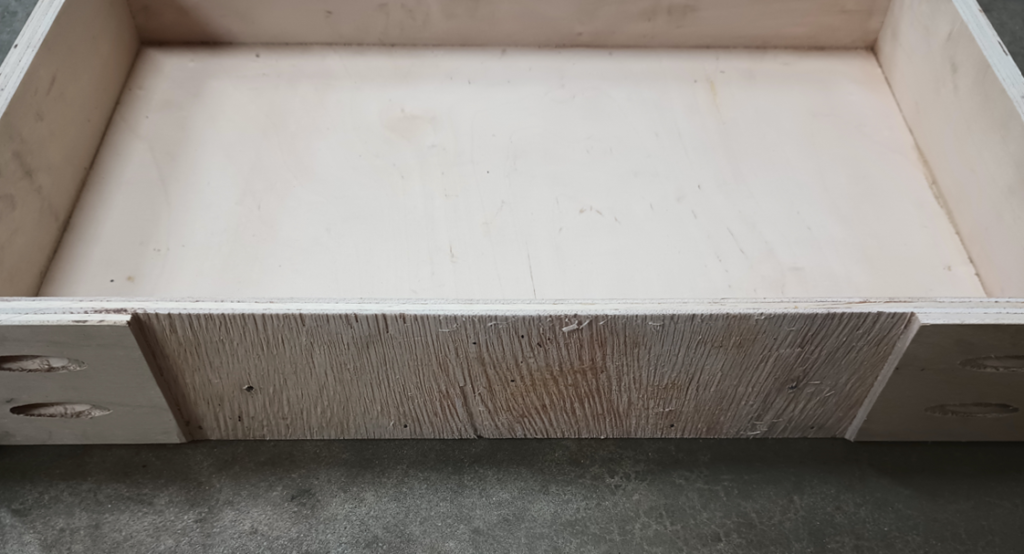
The front of the drawer needs about 1/8″ removed from the center of the outside to allow for the contour of the drawer face to fit flush. The back doesn’t need this with a 17-3/8″ wide x 11″ deep x 3″ high drawer. However, the drawer could be about another 1/8″ deep if the area at the back of the drawer is removed in the same way.
Assembly
Once all the cuts are made and the drawer is built it’s time for assembly.
- Attach spacer blocks to interior side of box
- Shim the drawer slides to the correct height then attach to the spacer blocks
- Shim the drawer bottom 1/8″ above the drawer opening then attach to the drawer slides
- Attach the drawer front to the new drawer
- Remove the lip material from the top of the drawer face
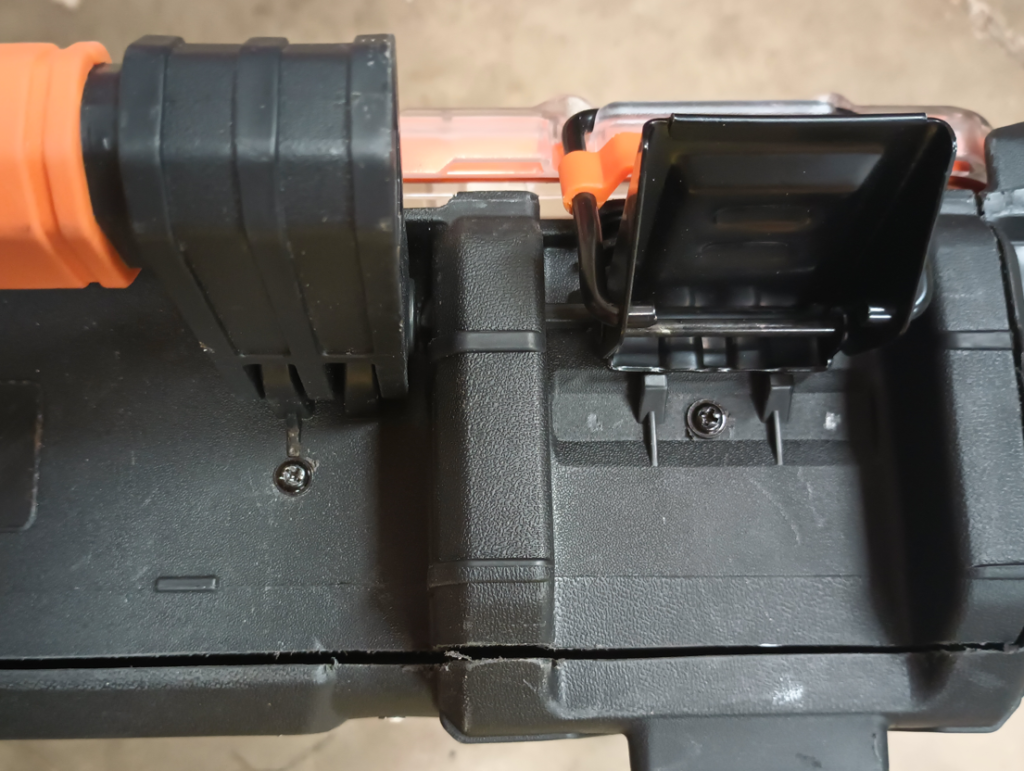
Attach the spacer blocks to the side of the box.
Cut the spacer blocks to a width and height to fit between the ribs on the side of the box. I kept the top of the block below the top of the slide. This leaves room for a trim piece to cover the gaps later.
Note that the block at the front (drawer opening) is on the angled portion of the side and needs to be shaved down to match the box side contour.
Use shims to locate drawer slide height.
The extra sections of DIN rail work well for spacers when attaching the slides. This puts the bottom of the slide about 3/4″ above the interior bottom of the box which is a good height for the 12″ slide to tuck into the pocket in the drawer front.
Shim the drawer bottom 1/8″ above the drawer opening.
This gap is necessary for the drawer to slide freely in and out of the box.
Attach the drawer front to the new drawer.
Take time here to get the drawer face to the proper height, the front flush with the box, and an even gap on each side of the drawer face. The attachment locations are “builders’ choice” but placing sufficient amount around the pull handle should eliminate the risk of pulling the face away from the drawer.
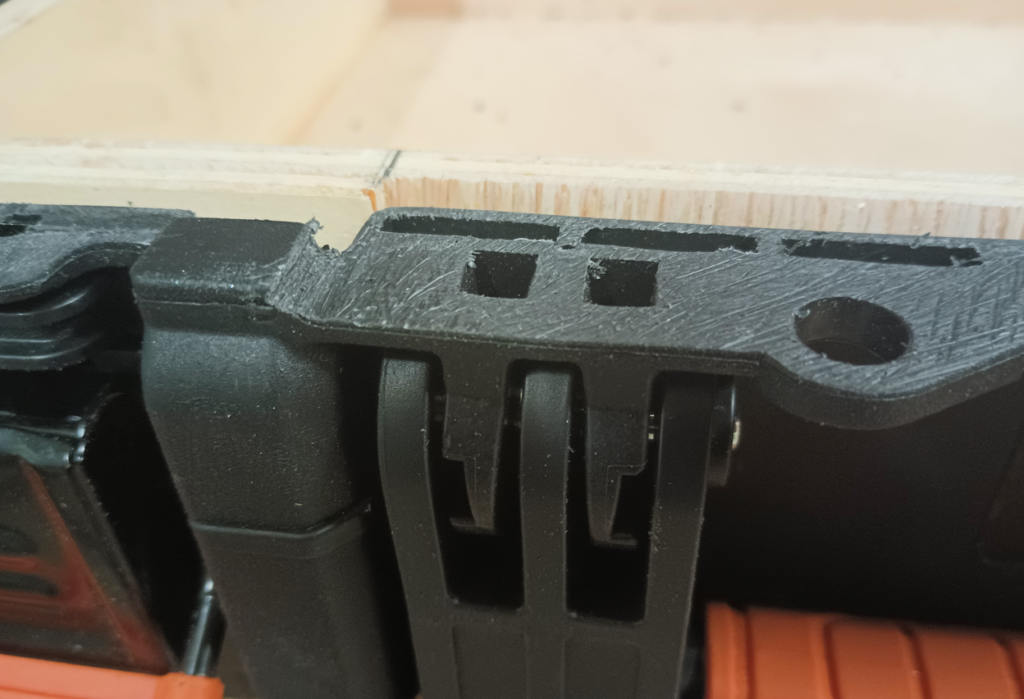
Remove the lip material from the top of the drawer face.
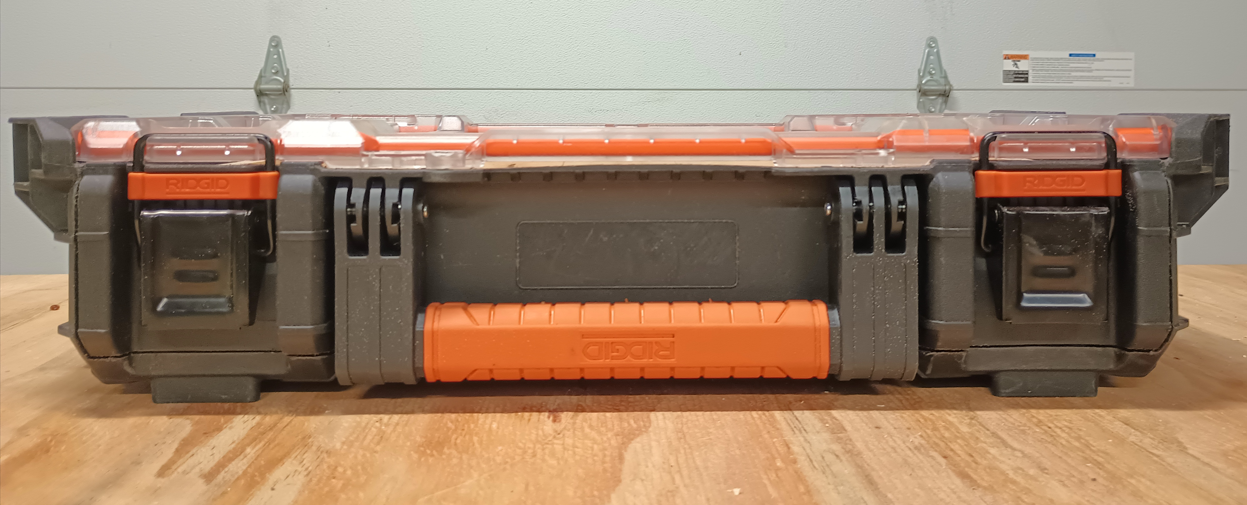
The lip material needs to be removed along the entire drawer front so the drawer can freely pull out with the lid closed. Another option is to remove the material from the lid. This seems to be a different material and I’m not sure how well it cuts or if it might shatter. I removed the necessary material from the box and did not remove lid material.
Fine Tuning & Details
Making the drawer work smoothly with the lid closed takes a little tedious work. The last step mentioned above of removing the lip material takes some time and fine tuning. The lid contour drops down further in the middle of the new drawer so even more drawer face material needs to be removed here.
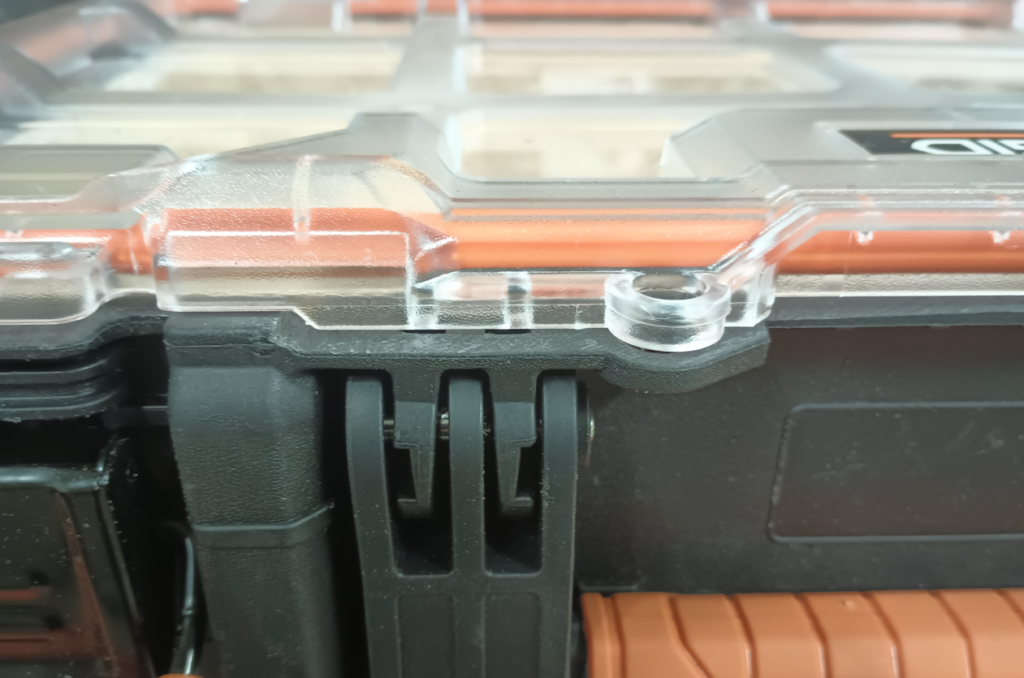
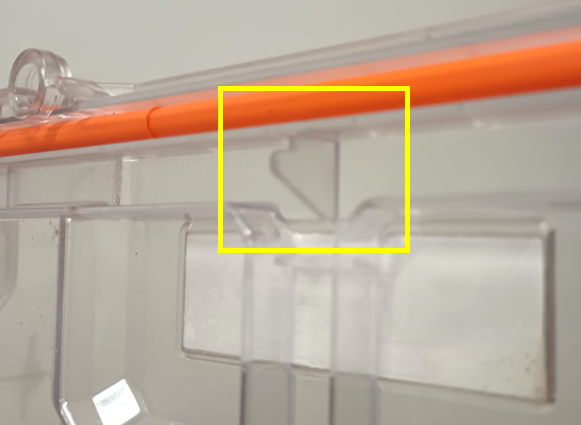
There is one small piece on the lid that I did remove. This little tab hangs down. I simply clipped it off with side cutters.
Once weight is placed on the drawer box any interference areas will be evident. I’m just living with a small amount of material rubbing since it’s only approximately 1/2″ of the drawer face that rubs a little with the box lid when a heavier weight is placed on top of the box. Once pulled out past this point the drawer operates smoothly.
The latches still work to keep the lid closed and secured, but also function as a drawer lock preventing the drawer from opening. The carry handle still works as well but I personally limit how much weight is inside if I know I’m carrying it by the handle. For carrying heavier loads using the handle I think some sort of lock securing the drawer to the sides of the box, instead of just latching to the lid, would be a good idea.
Is It Worth The Effort?
To me it is, especially now that I’ve worked through the “that didn’t work” issues. It’s nice not having to unlatch and remove the top box just to get at the contents of the lower box (or boxes). Perhaps if Ridgid comes out with a single drawer module of their own the effort to build one will no longer be worth it. Until then, this little project definitely is.
This article is the drawer box modification with the problems worked out for the most part. If some new idea or improvement develops, there will be updates.